Sunday 29 December 2013

DIY Minion Snowflake

I wanted to make a Minion Snowflake but I couldn't find a design on the internet. After doing a few Star Wars ones I decided to give my own design a go. 

Here's what I used:

  • Pencil
  • Rubber
  • Paper
  • Scissors
  • Craft board
  • Craft knife (optional)
  • Compass (or anything circular to draw around) 
The craft knife is optional for this design as it can be made just using scissors, this can be a bit tricky on the small cuts so a craft knife may be better. Saying that I managed with just scissors. The craft board is anything that's going to protect the surface you are working on from being damage by the craft knife. At the moment I'm just using a wooden chopping board.

So first I drew a circle on the paper and cut it out. The size of the circle doesn't matter but the smaller the circle the trickier it's going to be to cut out the design:


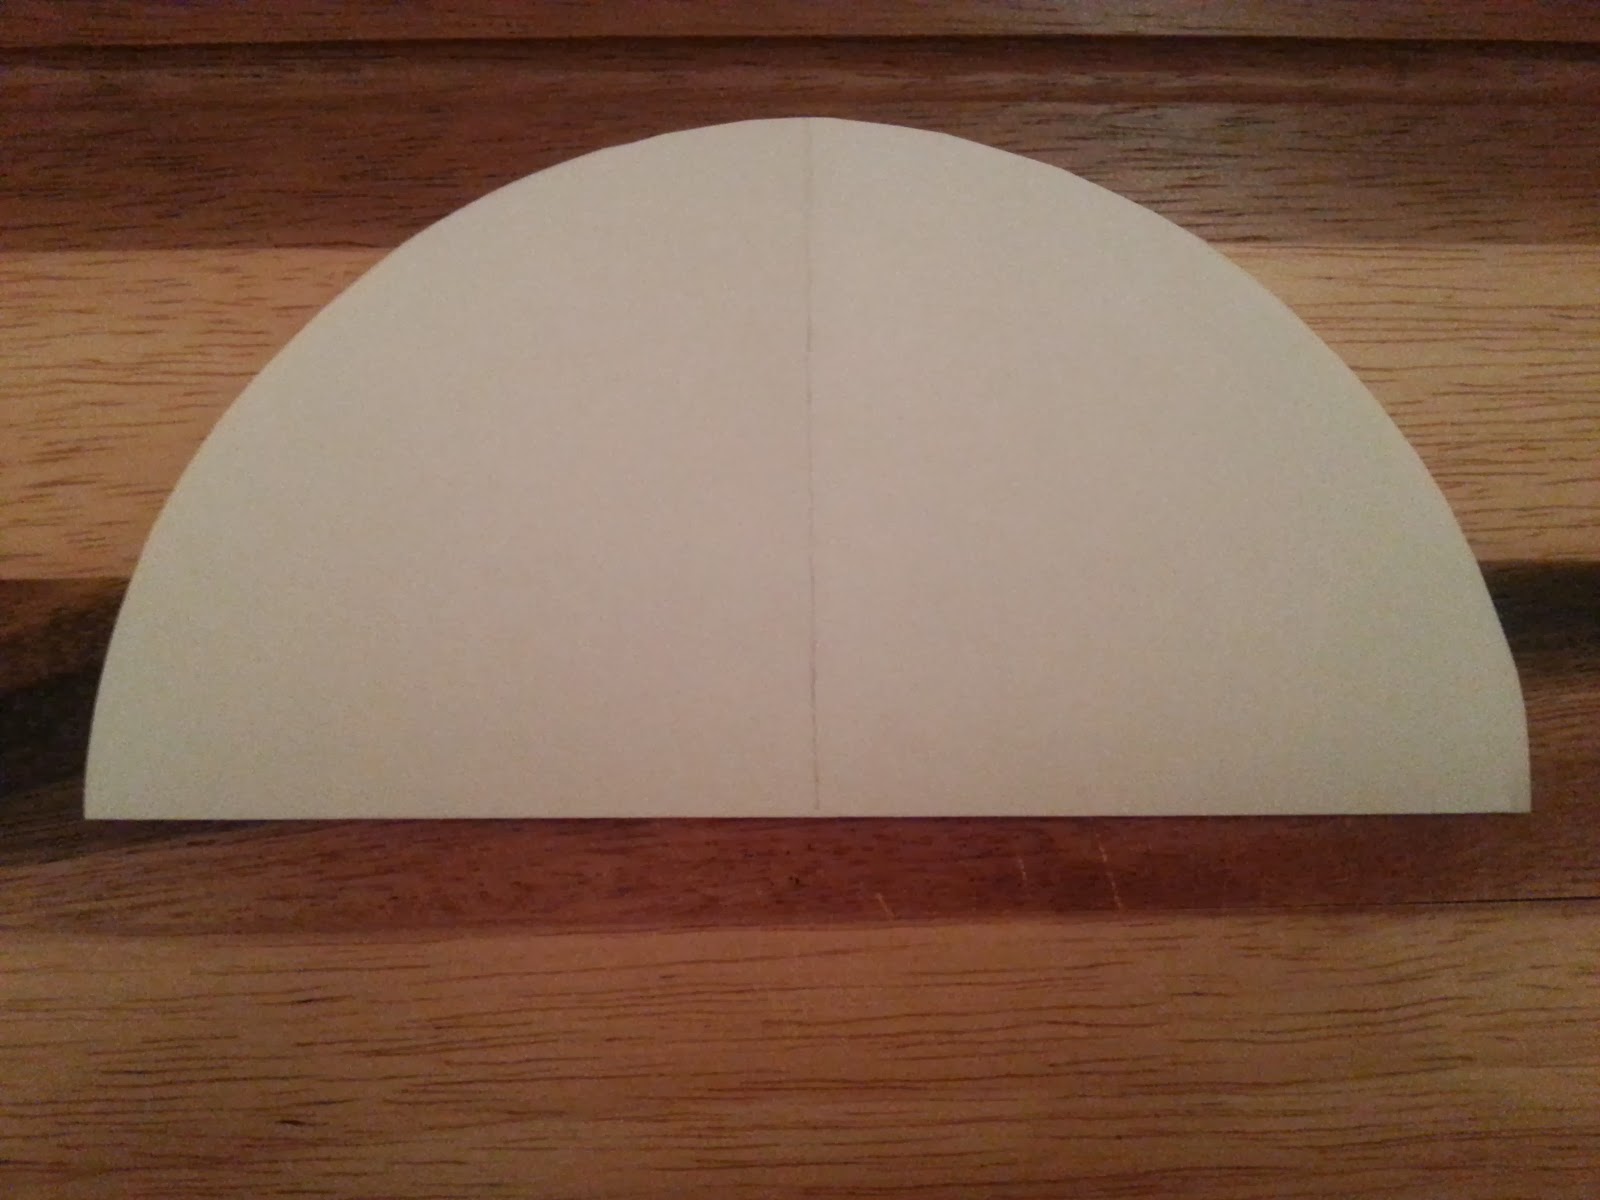
Then folded the paper in half: 


Opened up the circle and folded the circle in half again to make quarters. There is now a center line on the semicircle:


I then folded the right side up in-front of the semicircle and made a fold about a third of the way to the center line:


Then folding the right side again but underneath the semicircle to the center line (like an accordion fold) all the fold should now be underneath the paper: 


The same goes for the left side. I folded the left side up in-front of the circle and made a fold about a third of the way to the center line:


Then folding the left side again but underneath the paper to the center line (like an accordion fold) all the fold should now be underneath the paper: 


I drew a star on the paper just to show where the design is to be drawn. I then folded the paper along the center line: 


This is the design I used to make the Minion. The shaded areas are the areas that I cut out: 


I cut out the shaded parts, the hair is tricky to cut: 


Then I CAREFULLY unfolded the paper so as not to rip anything: 


It's not perfect but for a first design it will do, I may amend it for Christmas 2014. It would be great to see other people having a go!

(Feel free to copy/amend the design but make sure you link back to this blog if you do use it.)


Enjoy this post?

Saturday 28 December 2013

DIY Star Wars Snowflakes

I haven't done much paper craft before, Christmas was a good a time as any to start. I decided to start somewhere simple with snowflakes that I probably made when I was in primary school. I couldn't make any old snowflake it had to be geeky.

For the snowflakes I made all I needed was some plain paper, scissors a pencil (and rubber because I can't draw for toffee) and a craft knife. I didn't have a craft knife so I bought one especially, I'm sure I'll get more use out of it in the future. The sharper the craft knife the better.

The patterns I used are by Anthony Herrera they can be downloaded for free or for a donation. The downloads can be printed out but I drew mine it's more unique that way I think.

Not being used to using a craft knife I thought I'd struggle but they were easy enough. The craft knife didn't go through all the layers in one go so I did have to keep going over the same lines a few time but with a little bit of patience they turned out ok. These are the ones I made, there are diagrams for a lot more snowflakes on the website.

Tie Interceptor:

Yoda:


Emporer Palpatine:


C-3PO:


B-Wing:


The B-Wing I made first before my craft knife turned up as this didn't require a craft knife. However Rookie mistake; I drew the design on the wrong corner so when I cut the design out all the pieces fell apart... hence the single B-Wings in the picture. I can imagine this would be extremely frustrating if the design took a long time to cut out. Luckily I learnt my lesson with this one. 

I hope you had a great Christmas! 

Coming up in my next blog a Despicable Me Minion Snowfake that I designed myself. 


Enjoy this post?

Sunday 8 December 2013

Crochet Rose

My auntie loves roses and has taken an interest in my crocheting as she loves to knit. So I'm making her some roses. I searched for a good amount of time trying to find a really nice pattern for a rose which incorporated a stem.

These are the three I've made so far:

The pattern I based these on can be found here. Coincidentally this pattern was designed by PlanetJune who also designed the pattern I used when making my Mothers Day crochet daffodils. She sells many great patterns and has a few for free check her out! 

The rose pattern is not to difficult to make and it's very well explained and really easy to follow. Each of the roses I made are different sizes. I used DK yarn and a size 3.5mm crochet hook for the first one, for this my stitches were quite tight as I'm so used to crocheting tightly. The second one I used the same DK yarn but with a 4.5mm crochet hook and looser stitches, so this rose was slightly bigger. Then for the larger rose I used two DK yarns together and a size 5.5mm crochet hook. 

I've never used two yarns together in crochet before not sure what I was expecting but it's exactly like crocheting with one yarn just thicker. I had to make the calyx bigger for this rose as the one in the pattern would have been a bit to small (unless I doubled up on the green yarn of course, but I don't have two balls of the green). Another issue I had with the larger rose was that the pipe cleaner I used wasn't strong enough to hold up the flower. It looked a bit unwell... so I used extra reinforcement for the stem. All in all I think it went well. 

This picture shows the size difference a bit clearer (small on the right, medium on the left, large in the middle): 


I just need to decide how many I'm going to make and then find a vase to put them in. 


Enjoy this post?