I love the look of aged paper but who has time to wait for paper to start looking old? Here's how I made paper look old, in about an hour, using instant coffee.

What I used
Paper
I used normal plain white printer paper for this, although more absorbent paper would work better, printer paper worked fine for what I need. I ripped my paper in half as this is the size that I wanted and the ripping added to the aged effect.
Staining
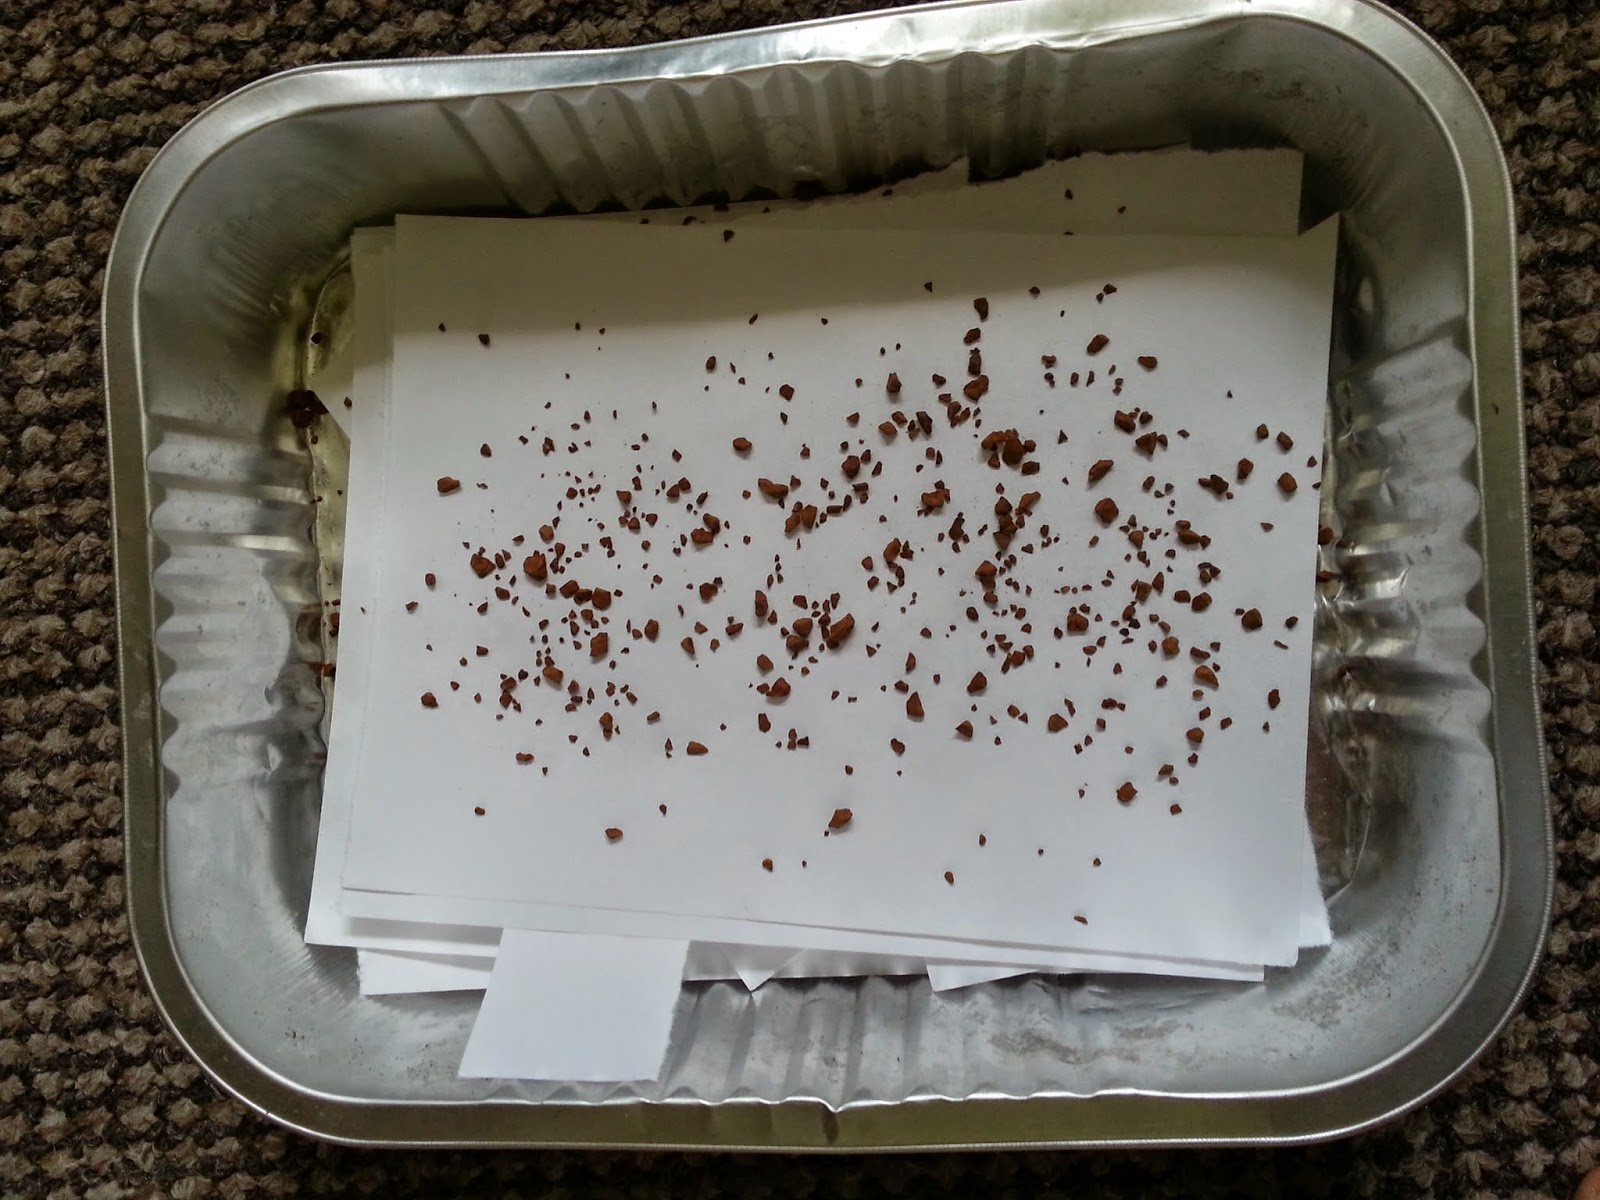
The tray I used was a tin food tray, recycling! I placed a piece of paper in the tray then sprinkled some coffee on top, I then placed the next piece of paper on top and sprinkled some coffee on that and continued this using 5 pieces of paper in total (and a few extra bits). The colour of the paper will darken the more coffee used.
I boiled some water, waited for this to cool a little so not burn my fingers and poured it into the tray just about covering the paper. I pushed the paper down to get rid of any bubbles from underneath and to make sure the paper was completely covered.

The paper was left to soak for about 15-20 minutes then carefully removed from the tray. I added a few rips to some of the paper for effect, this is easier to do when the paper is wet.
Drying
To dry my paper I placed the paper on top of a larger tin food tray, more recycling! Paper can be dried by hanging it on a line or placed on a towel just don't stack them as they may stick together and don't place them on anything that will stain!
The drying time depends on the temperature and humidity of the room. My paper was dried outside as it was a very sunny day, they were fully dry after about 35 minutes. The pattern of the tray can be seen in some of the staining which I think adds a bit more interest:

I sprinkled more coffee on some of the paper when it was practically dry (as you can see in the picture below) to add a different effect:

This is what the paper looked like after it had dried:

To add to the old look I singed the edges of some of the paper a little with a candle and burned a hole and added a few burn spots. These are the pieces I singed:

Please do not handle hot water or try to singe paper unless your with an adult and you know how to do it properly.
- Plain white paper
- Instant coffee
- A tray - must fit size of paper
- A kettle or saucepan - to boil water
- Somewhere to dry the paper that wont stain
Paper
I used normal plain white printer paper for this, although more absorbent paper would work better, printer paper worked fine for what I need. I ripped my paper in half as this is the size that I wanted and the ripping added to the aged effect.
Staining
The tray I used was a tin food tray, recycling! I placed a piece of paper in the tray then sprinkled some coffee on top, I then placed the next piece of paper on top and sprinkled some coffee on that and continued this using 5 pieces of paper in total (and a few extra bits). The colour of the paper will darken the more coffee used.
I boiled some water, waited for this to cool a little so not burn my fingers and poured it into the tray just about covering the paper. I pushed the paper down to get rid of any bubbles from underneath and to make sure the paper was completely covered.
The paper was left to soak for about 15-20 minutes then carefully removed from the tray. I added a few rips to some of the paper for effect, this is easier to do when the paper is wet.
Drying
To dry my paper I placed the paper on top of a larger tin food tray, more recycling! Paper can be dried by hanging it on a line or placed on a towel just don't stack them as they may stick together and don't place them on anything that will stain!
The drying time depends on the temperature and humidity of the room. My paper was dried outside as it was a very sunny day, they were fully dry after about 35 minutes. The pattern of the tray can be seen in some of the staining which I think adds a bit more interest:
I sprinkled more coffee on some of the paper when it was practically dry (as you can see in the picture below) to add a different effect:
This is what the paper looked like after it had dried:
In this photo I have placed the stained paper on top of the plain white printer paper for comparison. Paper that has been stained in this way will never look the same twice so each piece is unique.
To add to the old look I singed the edges of some of the paper a little with a candle and burned a hole and added a few burn spots. These are the pieces I singed:
Please do not handle hot water or try to singe paper unless your with an adult and you know how to do it properly.
Enjoy this post?
Comments
Post a Comment